


*Open your picture.
*Right click on the layer that says background. Click on "Layer from Background"
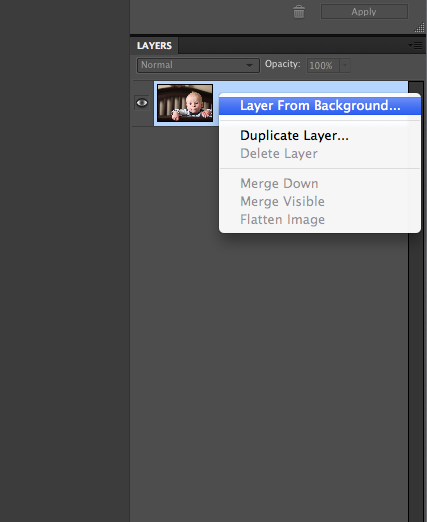
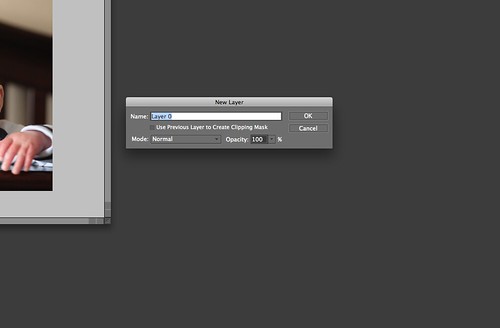
*Here is where you can rename it if you'd like. Click ok.
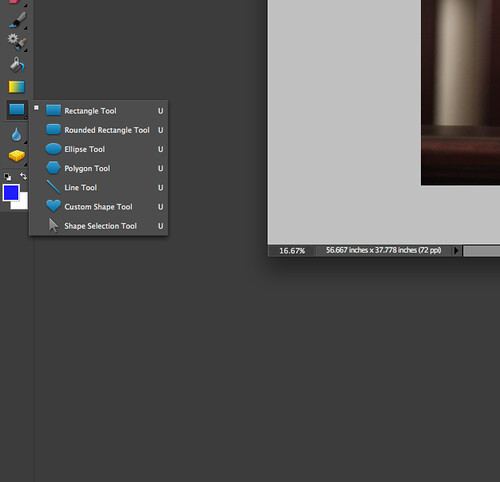
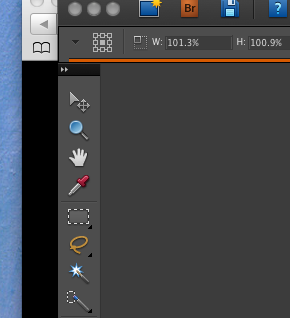
*Now go over to your shapes tool and click on the "rounded rectangle tool".
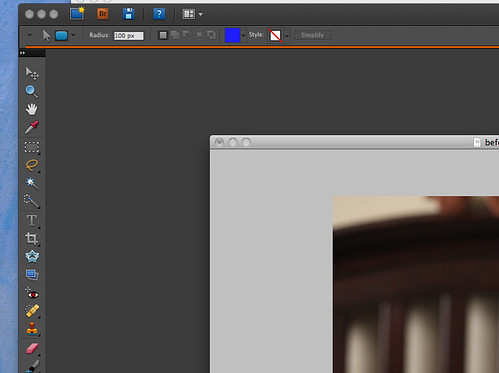
*In the radius box you can adjust how round you want your roundness to be. I usually go anywhere between 100 pixels and 150. But you can play with it and get it how you like it.
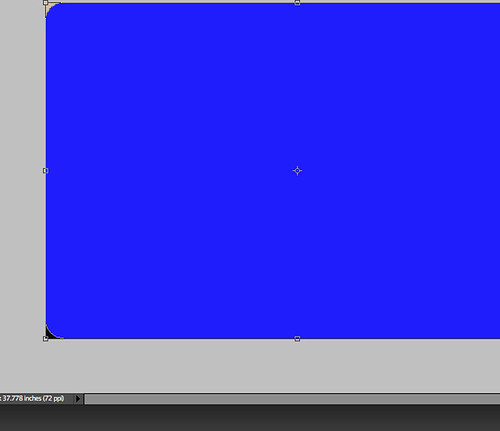
*Start at the corner of your picture and drag your mouse across the whole picture.

*This is what it will look like. The color of your rectangle may vary.
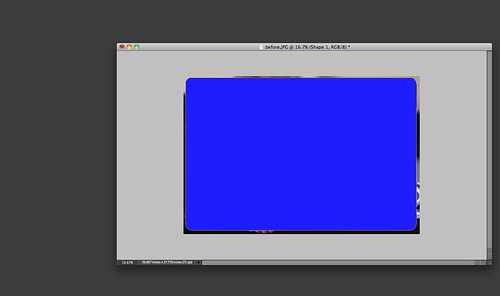
*See how the rectangle isn't covering the whole picture. This is just a matter of preference. We can leave it like that but I am going to adjust mine to fit the whole picture. I will click on the move tool. Which will select the whole rectangle and then I can drag it down to the edges.
*Currently our layers look like this and are in this order.

*Drag the shape layer down so it will be behind our picture layer. See how the order swapped?

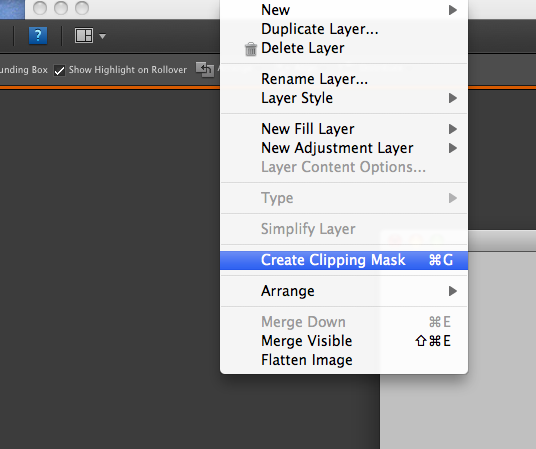
*Now click on the layer tab at the top. Scroll down and click on "create clipping mask".
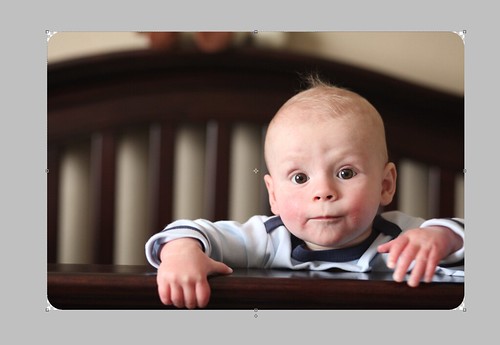
*See our picture now has rounded corners! ......almost finished.
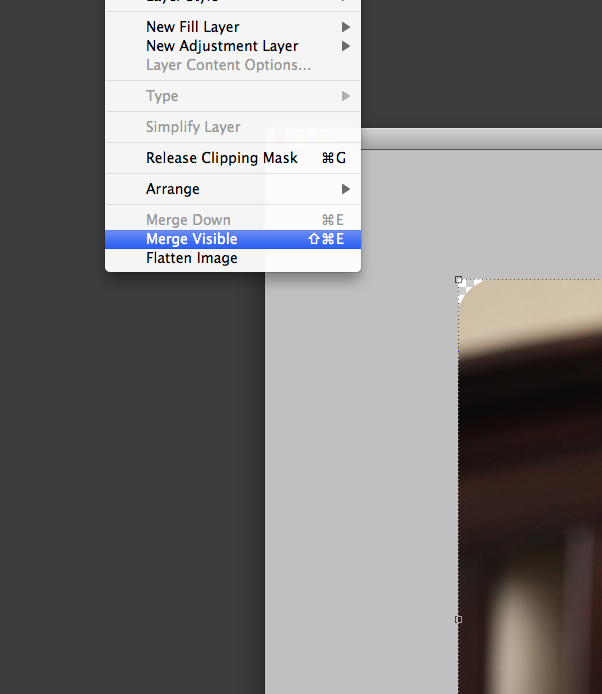
*Go back to the layer tab and click on "merge visible" That will merge all of our layers into one!
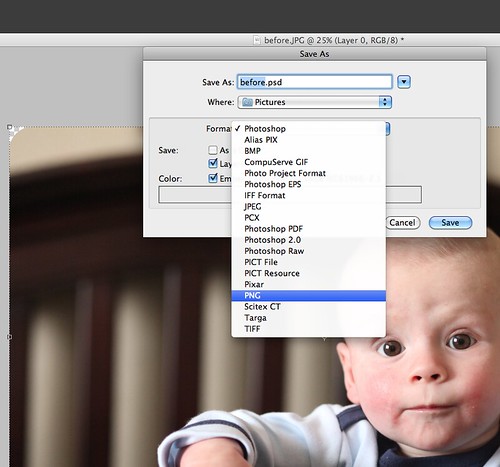
*Now save your picture. When saving pictures for my blog I always save in .png.
There you have it!


o now I really want Photoshop! :-) Thanks
ReplyDeletemay i ask why png??
ReplyDeleteThanks for sharing! I will have to get Photoshop Elements now! :)
ReplyDeleteYay! Thank you! The create clipping mask part was the part I either missed/ or wasn't in the other tutorials I found.
ReplyDeleteGreat tutorial! I have been rounding my corners when I write in Live Writer but at a BlissDom workshop today they said that Live Writer isn't good to use. Bummer b/c it's a lot easier that way! I'll have to follow this for Photoshop. Thanks for sharing!
ReplyDeleteThanks, Monica!
ReplyDeleteI am curious about the .png thing too!
I don't have the Clip option... I am using Elements 6.0... thinking I need to upgrade :-(
ReplyDeleteIs there another way to clip? I'm using photoshop 7 and didn't have that function under the Layer tabs. Thanks for the tutorial though!
ReplyDeleteHey Monica...I'm having some trouble with this...I go through all of the steps, but when I get to the "create clipping layer" part, it won't let me click it...Any ideas??
ReplyDelete