


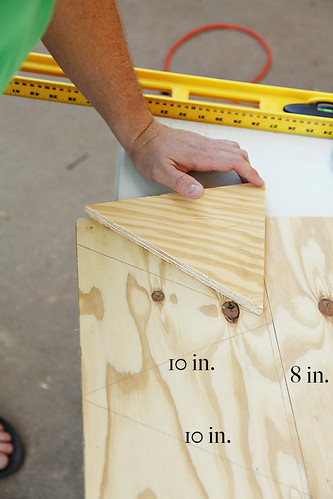
First measure and cut out the amount of triangles needed. The measurements for our triangles are in the photo.

Paint them the desired color. We used the paint my sister had left over from one of her projects. It turned out to be the perfect shade of blue.
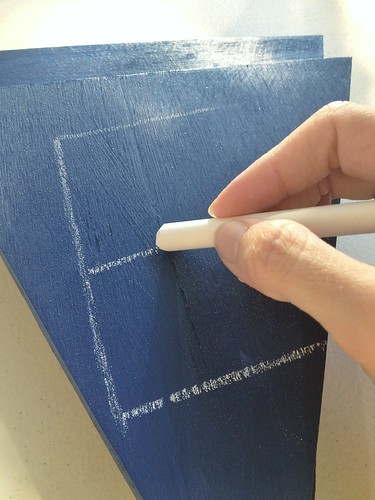
After the paint is dry it is time to paint the letters. I free styled it but you can use stencils if you'd like. (I wish I had, had some stencils.) First I used chalk to draw the letter so I could erase and start over if I messed up. Then I used some off white paint to paint over the chalk.
I don't have very good hand writing to begin with and then you put the added pressure of these things being used as decoration.... I wish I had, had some type of stencil to trace or something! But the imperfectness of them make them more unique. (at least that's what I keep telling myself)
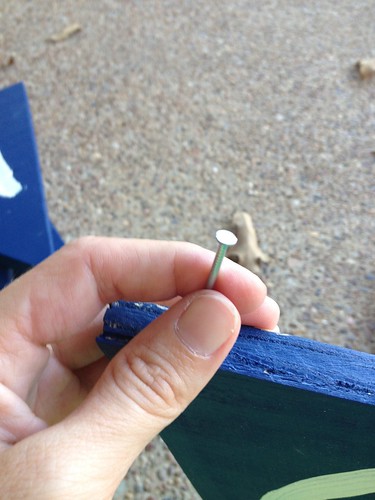
I was determined not to spend any extra money with this project since we have been spending so much on other projects. I used what was available. I found some gold hooks that you screw, in a nail kit. I had to create a hole to be able to screw them in. Hammering a nail in each hole did the trick for me but hubby later told me we had a tiny drill bit that I could have used...go figure.

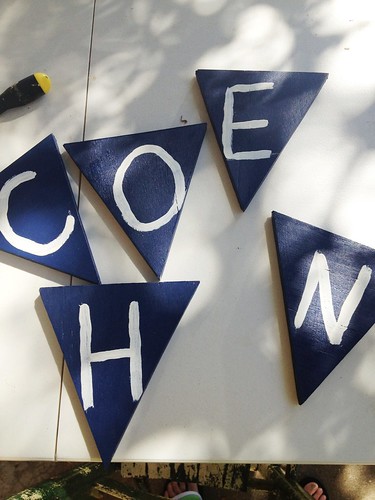
They looked like this when we were finished.
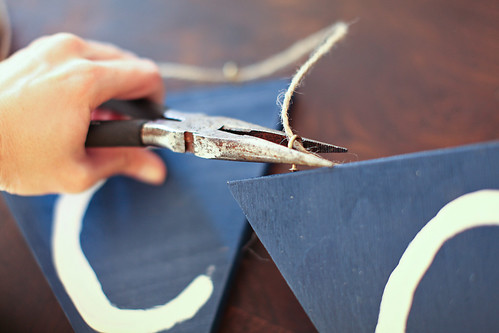
I then strung twine through each hook and used needle nose pliers to pinch the hook shut. That way the twine wouldn't slip out. I only had hook screws but you can buy screw eyes at the hardware store and skip this step all together.
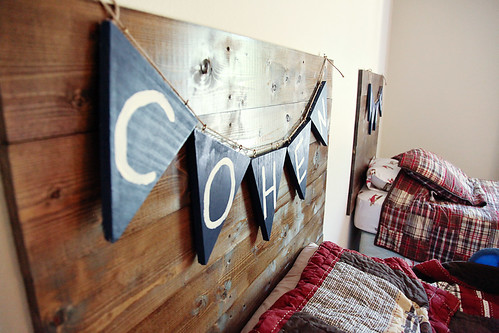
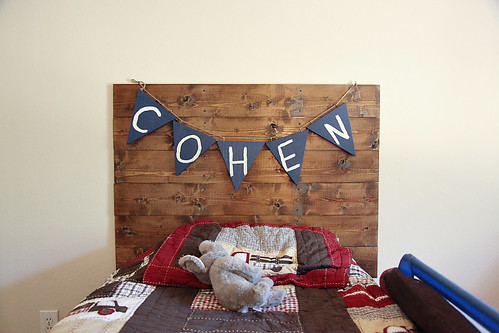
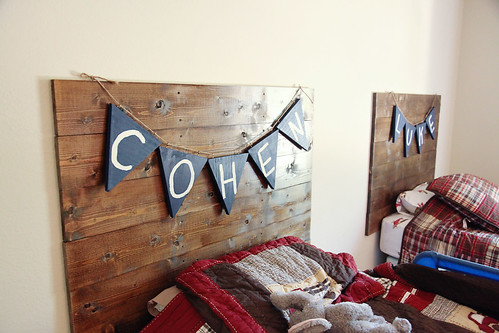
We used heavy duty screws on top of their headboards to hold the twine in place. And that's it!!
Another tutorial is coming on their headboards. Have a great weekend!!
Supplies needed:
- Light, weight board. The size depends on how many triangles you need.
- A jig saw or hand saw
- Ruler
- Paint for triangles and separate paint for letters
- Screw eyes, two per triangle (screw-in hooks)
- Thick twine
- 1 1/2 inch screws to hold banner in place


Sooo cute! Love that it's wooden instead of fabric!
ReplyDeleteOhhhh, these are SO ADORABLE! I seriously think that you had stencils, it would have lost some of the appeal. And I'm not just sayin' that!
ReplyDelete