


Last week I tackled yet another project with the help of my two sisters. I wanted to do this one as a surprise for hubby. Looking back we probably could have used his help. But I like how it turned out and more importantly he loved it!
I got this idea from my uncle and decided to hit up google to find some tutorials on it. Of course I found one that made it look sooo easy. So I asked my sisters if they would help me with this super easy project. My younger sister is incredibly handy. After telling her it would only take a few hours she agreed. (it ended up taking 6...I am so thankful they both stuck it out) The guest bathroom is 8x5 but we wanted to use only one panel of bead board so it would be seamless. The bead board comes in 8x4 sheets, which is why we use 6 inch boards to frame the ceiling.
Here is the tutorial that I followed. She has such a cute blog. But we had to do things a little differently.
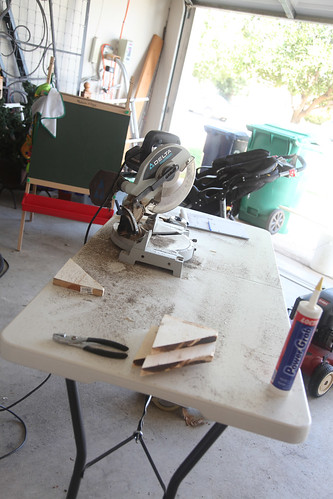
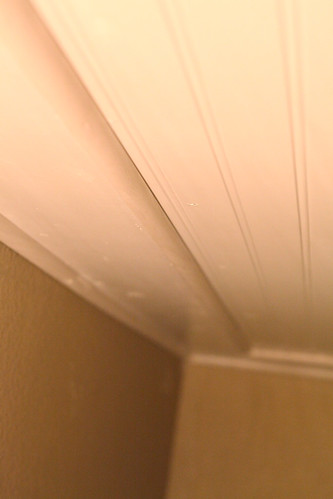
First we cut at an angle 4 boards that were 6 ft long, 6 inches in width, and 1 inch thick. After cutting them we painted them white. We used these to frame the ceiling.
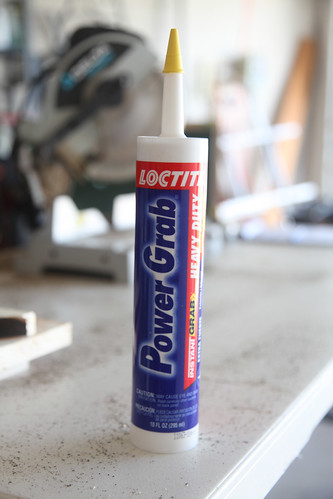
We first put liquid nails on the boards and tried using a nail gun to nail it into the ceiling. After the board fell on our heads I ran to the hardware store and was told to try 2 inch wood screws. These worked perfectly. We put 6 screws in each board. 2 on each end and 2 in the middle.
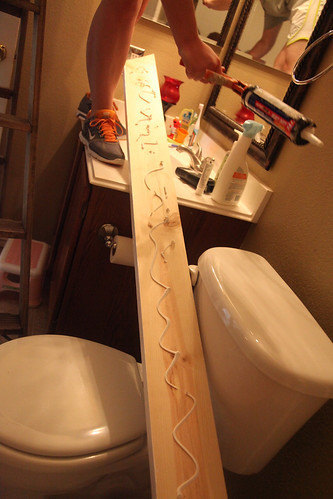
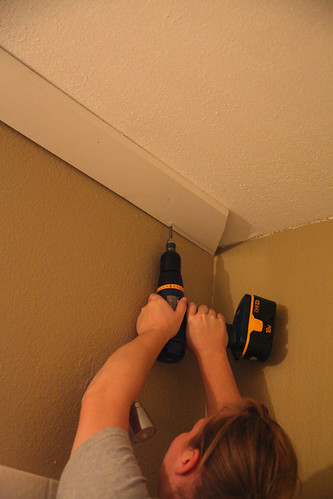
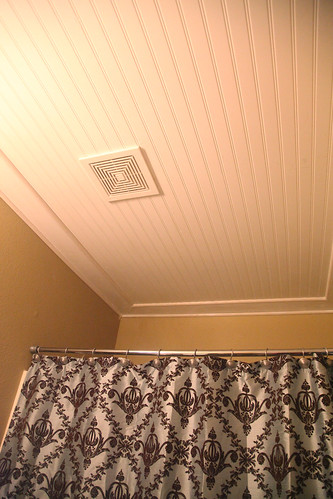
Then it was time to put the bead board up. After measuring and cutting out the two holes for the vents we put liquid nails on it and held it up while my sister used the nail gun to secure it. This part really required more people than we had. But we finally got it up!

When everything was finished we placed spackling over nail holes and in gaps where boards didn't meet. After the spackling dried we used sand paper to smooth it out, and then painted it.
I absolutely love how it turned out!
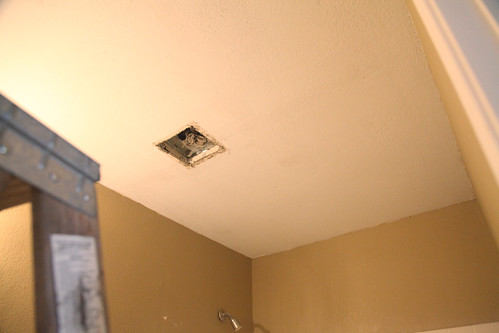
Before
After
Supplies needed for this project:
Miter saw (this is used to cut angles on the molding and boards)
Circular saw (you could get away with using just a hand saw for cutting out the holes for the vents)
24- 2 inch wood screws
Nail gun
Drill (to screw in wood screws)
4 boards- size will vary depending on the size of the room but I wouldn't have it more than 1 inch thick.
1 panel of bead board 8x4 (we were able to use 1 panel for the size of room we had)
Quarter round molding
Liquid nails
Spackling
White latex paint
Sand paper


Looks nice! I am painting the dining room with help from a friend since she's taller than me! I can't wait til it's done.
ReplyDeleteThank you!
ReplyDeleteI understand being short, this project was difficult because of all three of us are vertically challenged.
Wow
ReplyDeleteThat looks really great. And it looked like it wasnt too hard to do!
You forgot to add perseverance and patients to your list of items needed. ;) Great job! I don't think I would have tackled a job like that without my husband, I'm very impressed. I love it.
ReplyDeleteYou.are.brilliant.
ReplyDelete